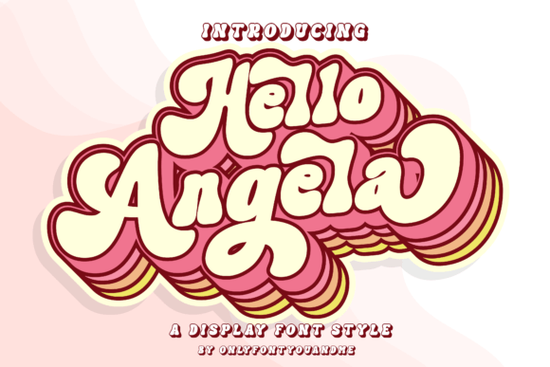
When you need a playful yet professional display typeface, Hello Angela Font stands out as a reliable choice for creators. It brings a hand-drawn, modern vibe that works well for projects needing personality without feeling chaotic. Whether you are designing a shop banner, laying out a magazine spread, or preparing a custom logo, this typeface gives you a clean baseline with just enough bounce to catch attention.
Display typefaces often struggle with readability, but this one balances letter shapes carefully. The spacing feels open, and the stroke weight stays consistent across uppercase and lowercase letters. That consistency matters when you scale designs for print-on-demand mugs, apparel tags, or social media graphics.
What makes this display typeface work for real branding?
Branding projects need typefaces that hold up across different mediums. You do not want a style that looks sharp on a screen but turns muddy when printed on kraft paper or fabric. This family keeps its curves crisp, which means logos and packaging maintain a polished look. The rounded terminals and smooth arcs give it a friendly tone, making it a natural fit for bakeries, boutiques, and creative studios.
Many designers pair rounded displays with a clean sans serif to balance the composition. If you prefer mixing playful styles, you can explore alternatives like Sweetie Honey for a slightly softer feel, or try Thick Honey Duo when you need heavier weights for posters. Having a few options in your toolkit helps you adapt to different client briefs quickly.
How do you access the extra glyphs and alternates?
This collection uses PUA (Private Use Area) encoding, which makes daily work much simpler. PUA means the alternate characters, swashes, and special ligatures are mapped directly to standard keyboard positions. You do not need to open advanced glyph panels or search through hidden slots. Instead, you type the designated character, and the alternate appears instantly.
For crafters and small business owners, this saves hours of tedious formatting. You can quickly swap a standard letter for a decorative swash when designing invitations, product tags, or custom stickers. If an automatic alternate clashes with your layout, you can simply delete it and choose a different variation. The flexibility keeps your workflow smooth during tight deadlines.
Where should you place this typeface in your designs?
Display fonts perform best when they lead the eye, not when they carry body text. Use this typeface for headlines, main titles, and logo lockups where you want immediate impact. Keep the size large enough so the curves and spacing breathe. Pair it with a neutral body font to create a hierarchy that guides readers naturally.
Magazine spreads benefit from short pull quotes set in this style. Print-on-demand sellers can place it on tote bags or notebook covers where the text becomes the main graphic. Hobbyists making scrapbook pages will find the clean edges easy to cut with craft plotters, and the open shapes hold up well in vinyl prints.
If your project needs a more organic touch, consider Summer Flower for botanical layouts, or test Wiggle Whistle for children’s book covers. For team branding, Varsity Signature offers a structured alternative. Choosing the right display typeface comes down to the mood you want to set.
What steps should you follow before finalizing your artwork?
Before sending any file to print or uploading it to a marketplace, check a few technical details. Small adjustments in tracking, line height, and color contrast prevent costly revisions. Print platforms often require specific color profiles, and screen previews rarely match the final physical product.
Keep your text layers separate from backgrounds so you can adjust spacing without redrawing shapes. Test it at mobile sizes to ensure the curves remain clear. You can also review the official Hello Angela Font reference page to check for licensing notes or updated character maps.
- Check contrast ratios against your background color before exporting.
- Test tracking manually after resizing; auto-kerning often leaves awkward gaps in display text.
- Convert to outlines only after your layout is approved, keeping editable layers safe.
- Preview at actual size on the intended material, especially for sublimation or embroidered patches.
Start your next layout by placing this display typeface near the center of your composition, then build supporting elements outward. Keep consistent margins around the text, and let the natural curves do the heavy lifting. Once you lock in your spacing and color palette, your design will feel balanced and ready for production.
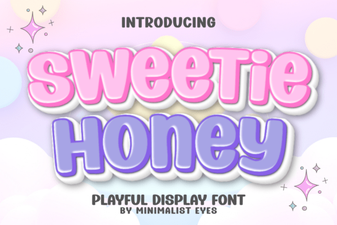 Sweetie Honey Font: Crafting Whimsical Designs
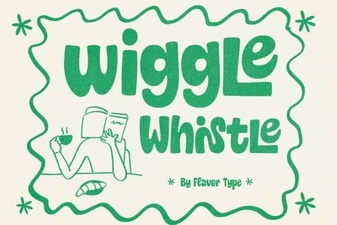 Design a Fun Font with Wiggle Whistle
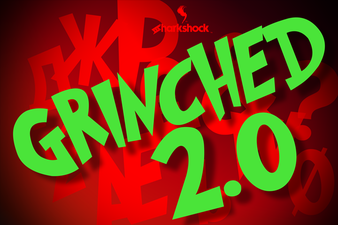 Grinched 2.0 Font: Holiday Design Projects & Ideas
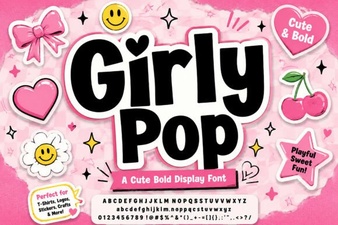 Girly Pop Fonts for Creative Projects and Fun Designs
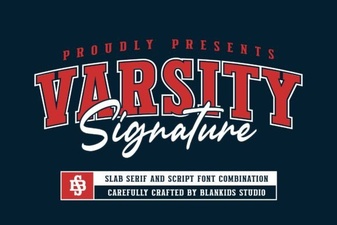 Varsity Signature Font: Design Ideas & Usage Tips
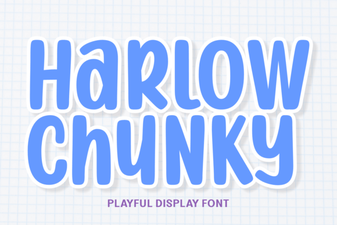 Project Ideas with the Harlow Chunky Font