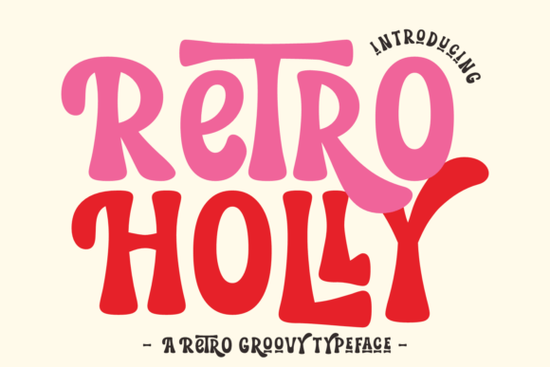
If you need a typeface that brings back the relaxed vibe of the seventies without feeling dated, Retro Holly Font delivers exactly that. It combines bold bubble lettering with a handwritten flow, making it a practical choice for summer branding, craft cuts, and print-on-demand merchandise. The design leans into vintage aesthetics while keeping the clean lines modern software expects, so you spend less time fixing spacing and more time finishing your layout.
What makes this retro typeface stand out for crafters and designers?
Most display fonts either look too rigid or become unreadable when scaled down. This one strikes a middle ground by offering thick, rounded strokes that hold up well on screen and print. You get more than a standard alphabet. The package includes wavy, chunky, and swash variations, so you can mix weights without hunting for separate downloads. The handwritten texture gives it a relaxed, boho feel that works especially well for lifestyle brands and seasonal promotions. If you usually reach for a soft, rounded display style for your headers, you will notice how the added swash tails here bring extra movement to short phrases.
Which projects work best with a groovy, handwritten display font?
Bold retro lettering shines when it has room to breathe. Think short headlines, sticker sheets, t-shirt graphics, and social quotes. Because the characters are naturally thick, they cut cleanly on vinyl and cardstock, making the font a reliable pick for Cricut users. Print-on-demand sellers also benefit from the high contrast shapes, since they remain sharp after direct-to-garment printing. When you are building a summer collection, the playful curves add instant personality. For shops that already feature a sweet, decorative script, swapping in this chunkier alternative can give your newer listings a fresh edge.
How do you handle the SVG, PNG, and extra style files?
The download comes with fully printable assets alongside standard font files. SVG and PNG versions are particularly useful if you work in Procreate, Canva, or older cutting software that struggles with OpenType features. You can drag the PNG letters straight onto your canvas, resize them, and layer the wavy or chunky extras behind your main text for a quick shadow effect. Installation follows the usual double-click method, and the alternates appear in your glyph panel. Designers who often experiment with a puffy, three-dimensional look will find that the pre-made wavy styles here achieve similar depth with less editing time.
What should you pair it with for clean, readable layouts?
A heavy display typeface needs a quiet partner. Stick to simple sans-serif or light serif fonts for body copy and pricing. Let the retro letters handle the main message, and keep supporting text brief. Adjust tracking slightly if rounded edges touch, and always test your design at actual print size. When building a brand kit, you might rotate statement fonts by season. A sharper option like a modern, edgy display type can work for winter drops, while this groovy set fits spring campaigns. If you need a holiday alternative, browsing a festive, hand-drawn style keeps your shop fresh.
How do you get the most out of the license and file formats?
Always check the license before listing products. Most downloads cover commercial use, but some marketplaces require a separate print-on-demand extension. Keep original files organized, and back up SVG and PNG extras. When exporting artwork, convert text to outlines if your printer requests vectors, and run a test cut on scrap vinyl to check weeding.
- Test at print size: Verify that bubble edges do not merge when scaled down for stickers or tags.
- Use swash alternates sparingly: One or two decorative tails per word keeps the layout readable.
- Pair with a neutral body font: Let the retro display handle headlines while a clean sans-serif covers details.
- Check cut settings: Increase blade pressure slightly for thick curves, and use transfer tape for multi-layer vinyl.
- Review the license: Confirm commercial and print-on-demand permissions before uploading to your shop.
Start by typing your main headline, toggle the wavy or chunky style in your font menu, and export a quick mockup to see how the curves interact with your background. Adjust spacing, save your preset, and move straight to production.
 Sweetie Honey Font: Crafting Whimsical Designs
 Design a Fun Font with Wiggle Whistle
 Grinched 2.0 Font: Holiday Design Projects & Ideas
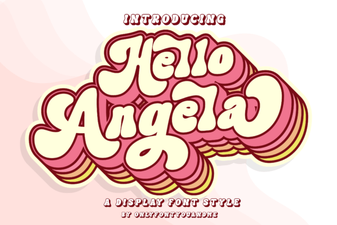 Hello Angela Font for Creative Projects & Web Design
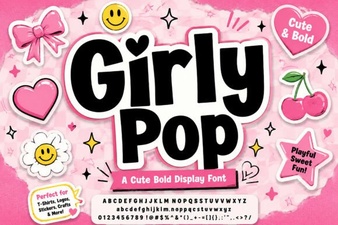 Girly Pop Fonts for Creative Projects and Fun Designs
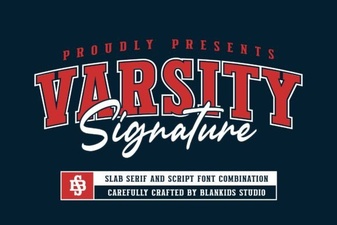 Varsity Signature Font: Design Ideas & Usage Tips